Narrow 1/4" Borders - a "How To"!

I learned how to sew these narrow borders many years ago from my quilting friend Kay Phillips. Since then I have used this technique on almost all my quilts and wallhangings. I have passed the technique on to many people but this is my first attempt at sharing a "how to" on my blog. If you have any questions, email me! But my best advice is to try this first a couple of time with 3 strips of fabric, one for the "quilt", one for the 1/4" border and one for the next border.

1. First border - any width - sew on as usual and press seam towards outside edge.
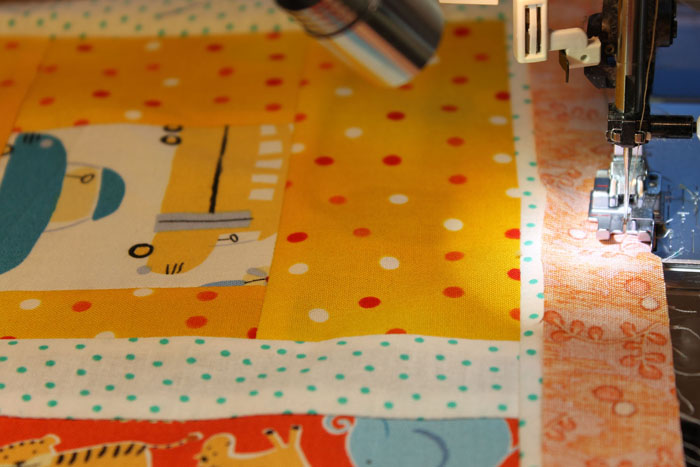
 1" strip being sewed, this will become the 1/4" finished border

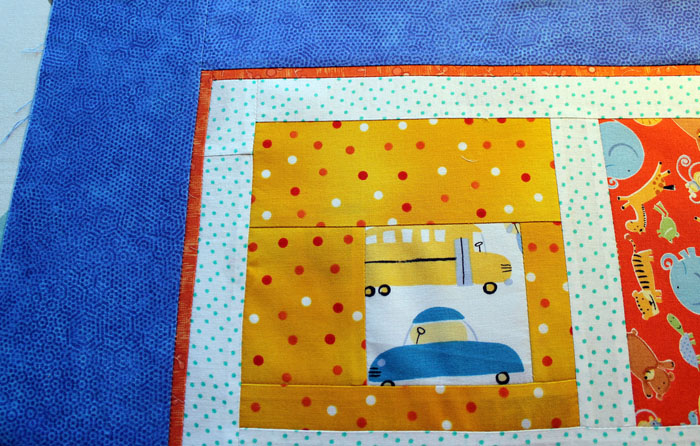
2. Second Border - 1/4" (finished width) - cut border 1" wide - sew to first border with 1/4" seam allowance. Press seam to outside edge.
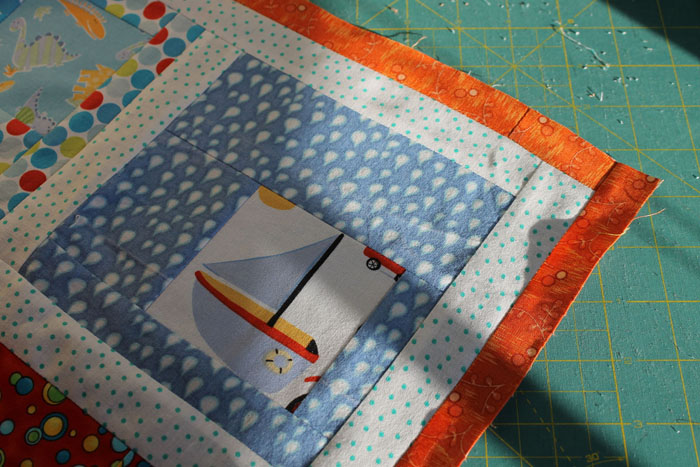
 1" strip has been sewn on all 4 sides and pressed

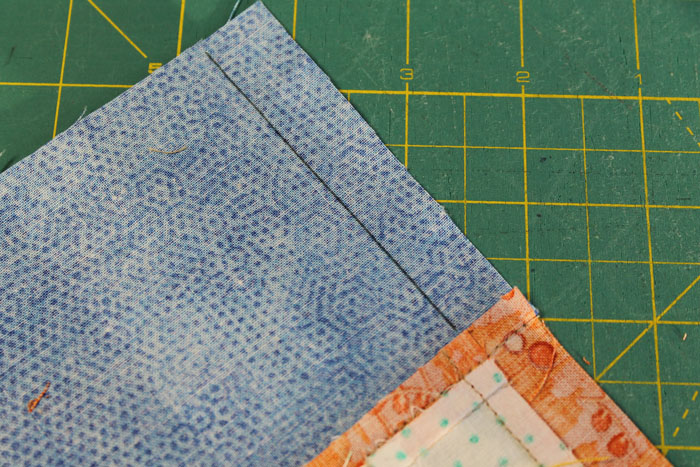
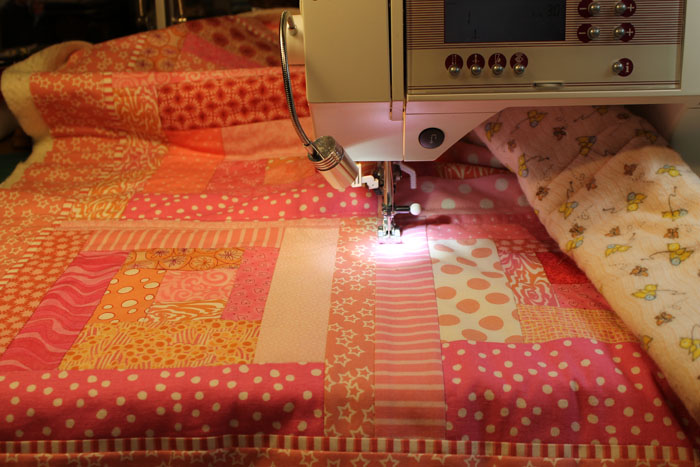
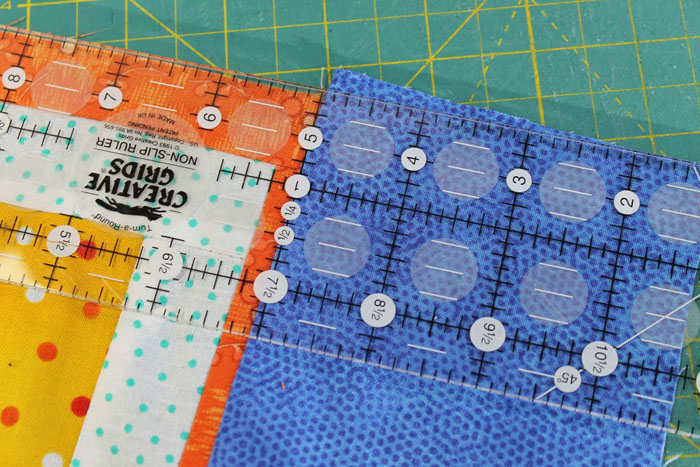
3. Third border - Cut desired width BUT allow an EXTRA 1/4" seam allowance. To sew the third border on - lay your piece wrong side up (i.e. the side with the most information), the third border strip is underneath (probably the opposite to what you would instinctively do). The stitching from the last seam sewn will be visible - line up the left edge of the presser foot so it will run against the stitching of that earlier seam. It should be 1/4" away. Stitch. Sew opposite sides on first, in same order as your 1/4" border.
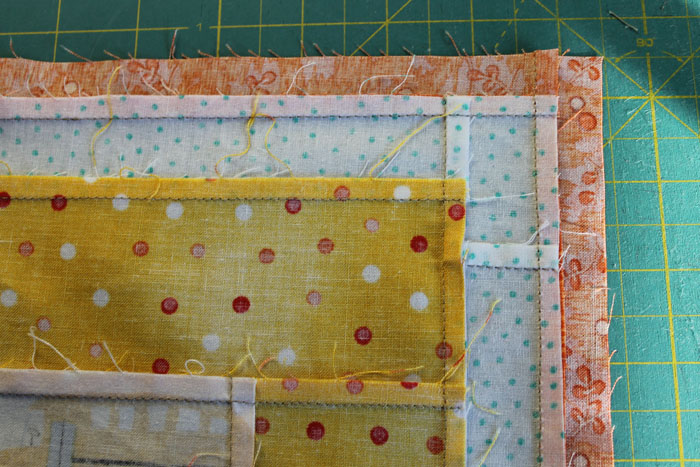
The next border is underneath, sew at the edge of the previous seam, 1/4" from the stitching.

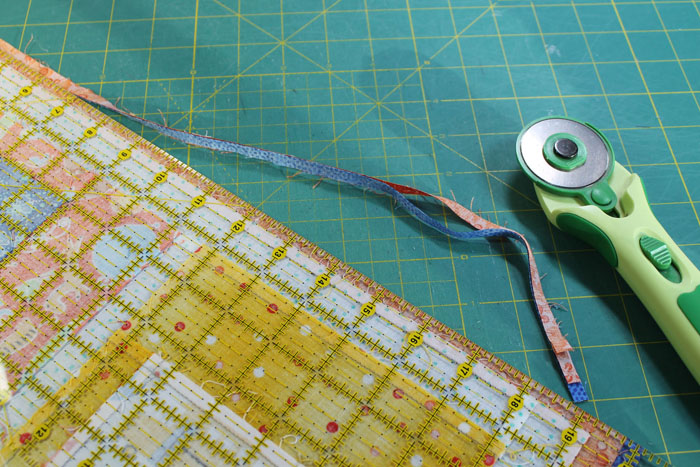
Trim away the excess seam allowance

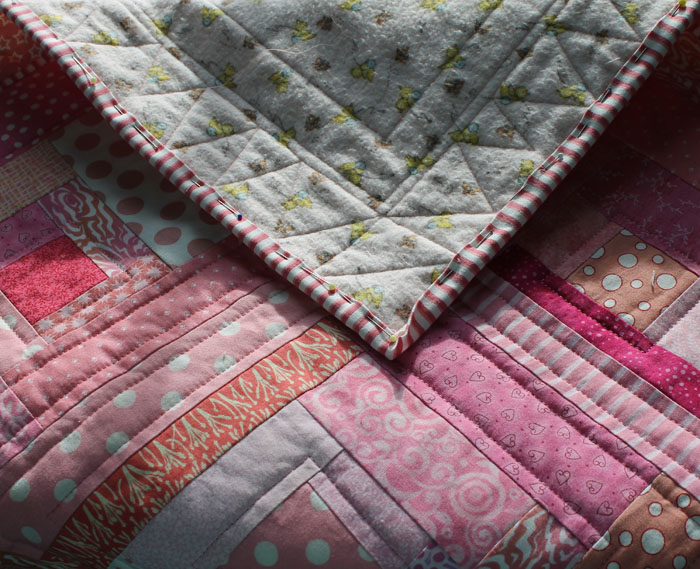
4. That seam will have a 1/2" seam allowance and can be trimmed to 1/4", after sewing, to reduce the bulk. Press to outside edge. 1/4" border can be reduced to 1/8" simply by trimming the second border seam allowance to 1/8" after you have sewn it. Then using this 1/8" seam as your guide, stitch as in the instructions for the third border and you will have a 1/8" border. Great for minis! Care to try 1/16"!!
 Sew opposite sides of borders on first, then trim ends. For wider borders draw sewing line by lining up your ruler with the edge of the seam allowance.

 Sewing line is marked

Last border is added, seams are pressed to the outside

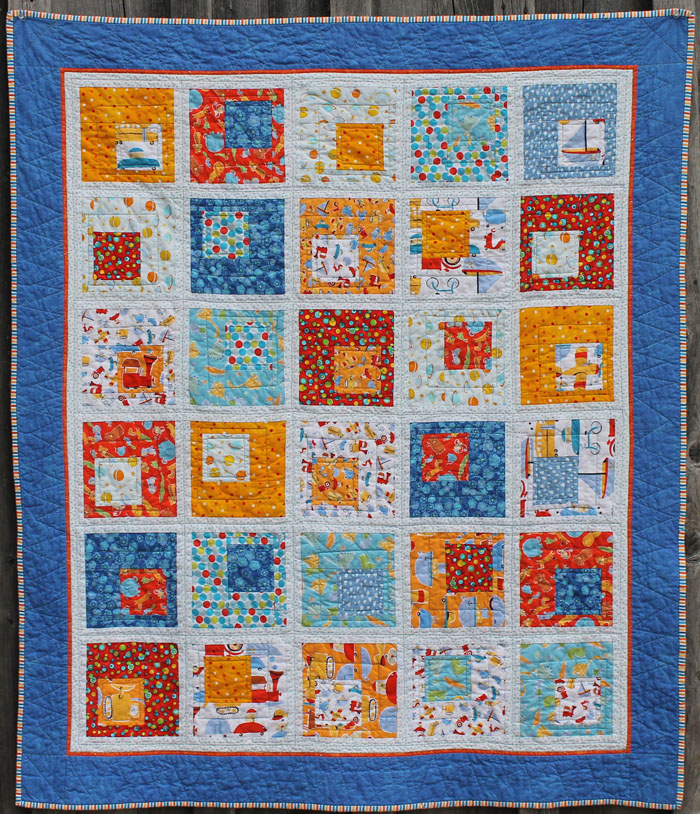
The finished quilt "Cars and Trucks and Things That Roar" which is based on the quilt "Building Blocks" which can be found at the Moda Bakeshop. The quilt was designed by Hyacinth Designs Another example of this fun pattern can be found on this post. As much as I like Moda's pre-cuts both these quilts were made from fabric in my stash, cut to the requirements in the pattern.

If you would prefer a pdf of this technique please email me.

Cove Quilters Challenge

Early in December, one of our bee members, Sandra, suggested we have a challenge. She had bought a copy of the Twelve x 12 Challenge book and was very inspired by what this group of art quilters had done. She suggested our bee should embark on a bit of a challenge with a finished size of 12" square, we should try out some new techniques and it had to be done by January 25. She suggested our first theme be "birds".

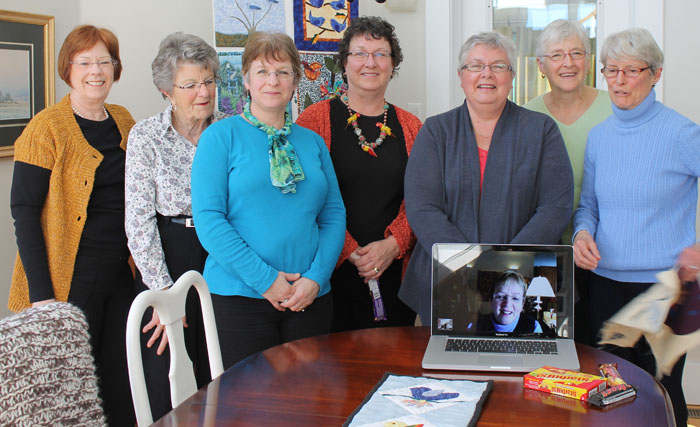
Top, left to right - Vicki, LindaH, Linda M, Barb, Heather, Donna, Sandy and Sandra

Eight of us took her up on the challenge and though we gather bi-weekly we didn't bring our challenge to bee or discuss them. We had the grand unveiling at Sandra's last week. We were delighted to have our long distance member Heather join us via Skype. This was the first time we tried it and it worked very well.

My challenge is called "The Empty Nest". I was inspired by a post on Jane Sassaman's blog for the bird's nests she made for her Christmas tree. It was fun to make and I will do some for next Christmas for our tree. The background of the block I cut and slashed and inserted the branches, if I was doing it again I would make the branches more irregular. The leaves are raw edge applique and I did a bit of machine quilting. a fun and quick project once I had the plan! Vicki is keeping a journal of each piece and what she did, techniques used along with notes of what worked or didn't. I must do that before I forget.

Sandra, Jane, Donna, Sandy, Vicki, Linda, Terry and Heather visiting via Skype!

Our next challenge is based on chocolate and candy! Linda gathered a selection of chocolate bars and candy and put them in a bag. We each drew one to use as our inspiration or theme. Some of us are going to be really challenged! Mine is a Mars bar!

We drew for Heather and she got the box of Starburst candies. Sandra outdid herself with "bird" themed treats - birds nest cookies and a little bag of bird seed tied with cardinal ribbon. It was a great afternoon with a great flock of quilters!

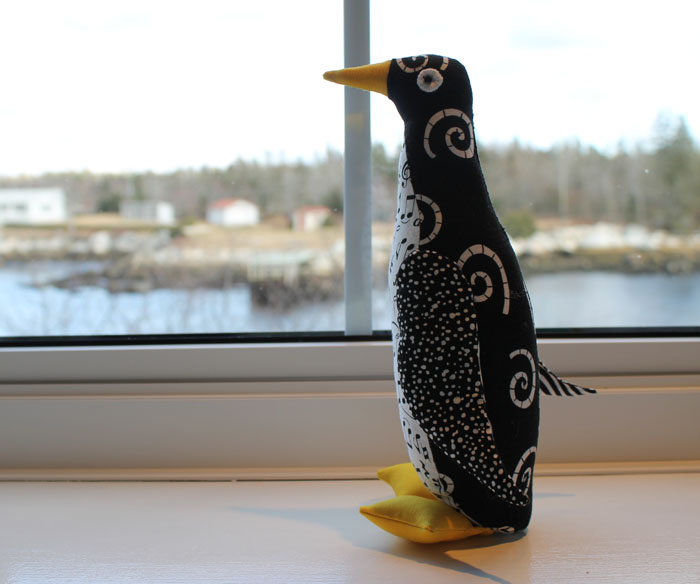
In keeping with the bird theme, Sandy brought along one of the penguins she has made from the pattern found at PurlBee. Several other bee members are making them too, Heather has 3 done and Sandra and I have several in various stages of completion. They are just so cute!

A Pink Quilt

Last Friday I delivered another pile of 34 quilts to the NICU at the IWK Children's Hospital. Quilters primarily from the Mayflower Quilters Guild and the Mahone Bay Quilters Guild have been supporting this project for almost 5 years. I haven't kept track of the numbers of quilts we have made and donated but it must be well over 400 now.

As soon as I came into the NICU, I was approached by a Dad who saw the bag of quilts that I had and he asked how much they cost, he wanted to buy one, a pink one for his baby daughter, he told me that she weighed 1lb 4 oz when she was born on New Year's Eve. I explained that they weren't for sale but were for the babies in the NICU to be used while they were there and that if they wanted one, a quilt could go home with them. He asked if I did commissions, he wanted a pink one, just a pink one for his tiny daughter. The nurses explained that they had to be labelled and washed and then he could have one, he was happy with that and thanked us for our support. He wanted a pink one, he reminded us. He told me several times his baby was the smallest one there. My heart ached for him and his tiny daughter.

I remember that when we spent over 2 months there with our twin grandsons how we always talked to other families, sharing news of our babies, their progress, their milestones big or small. We were important to each other, the support was huge and needed, no matter how small or brief.

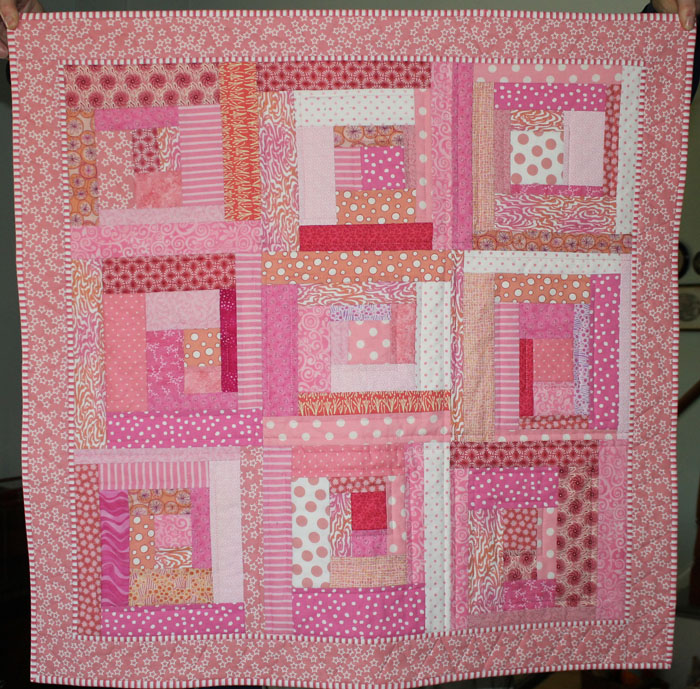
I couldn't get this Dad out of my mind and his tiny baby. Our grandsons were 2lb and 2lb 10oz when they were born and it is hard to imagine a smaller baby. I kept thinking about this baby girl and the struggles that lay ahead. So Saturday morning I went to work, pulled out all the pink scraps leftover from Molly's quilt and made a small 32" square quilt for "the smallest baby" and her Dad. There are 9 - 9" squares plus a narrow border and a 2" border with a soft flannel back, perfect size for a tiny baby to grow into.

I pieced it and mostly quilted on Saturday, finished the quilting and binding on Sunday and today I am going to deliver it.

The quilt is machine pieced, simple off centre log cabin blocks and it is machine quilted. 

I just hope and pray that they are still there.

An update - yes, baby is doing ok, holding her own. Her Dad wasn't there but I did give the quilt to the baby's primary care nurse so I know they will get it. I think I will make another one, I still have scraps left and I know there will be another little girl who will need a pink quilt.